Pages

Sunday 19 July 2015

Cherry sultana cake


A hot cup of tea and a nice, sturdy piece of cake. What way to fend off the cold and other maladies?

I personally am not built for the cold and am really struggling in this body-numbingly cold Sydney winter (apparently last week had the coldest couple of days in 20 years!). But there's plenty to be happy about!

Just a quick recap in what's happened since I last posted. First of all, I finished (and passed) all my placements!! Hip hip hooray!! It was certainly a busy (and at times stressful) semester - anyone who has been on placement will understand the pressure of being constantly judged, the insecurity of being a not-quite-experienced-enough student, and the anxiety of whether you are good enough to pass the grade, not to mention making sure all the various checklists and competencies get written up and signed off. Overall though it was a rewarding experience in so many ways. I really developed my dietetic skills through the successes and challenges, had the opportunity to work in wonderful places and meet other talented professionals, and last but not least made some great new friends along the way :)


In other news, an old school friend recently gave birth to her first child, a beautiful baby girl! To support her through this new phase of life, my friends and I put together a care package, and I baked a reliable, traditional sultana butter cake as my gift. I wanted a cake that would hold up solidly over the course of time and would deliver comfort with every mouthful. Not the healthiest thing I know, but I do think new mums and dads need as much love and support as they can get, even if it's in cake form!

In the meantime, now that I've had some time off, I also made Mr Duckie his favourite cherry and almond cake (I've written about his love of cherry-and-almond based sweets before).The result was that I had lots of leftover sultanas and cherries!


I actually wanted to remake the sultana butter cake because it looked so tasty when I first baked it! But then I found this recipe and thought it would be the perfect way to use up all my leftover fruits (and leftover brandy from these cherry truffles)!

The recipe itself was very easy to make - simply melt the sultanas, butter, sugar, and brandy together, and then add in the cherries, eggs and flour. You could do it all in one pan! I also added some extra mixed spice and ground ginger to increase the fruit-cake like flavour, and because I really like the combo of mixed spice and sultana! I also ran out of marmalade, so I substituted with golden syrup and mandarin zest (because I also had no oranges around!).

Ready to go in one pan!
The one thing to watch out for is the cooking time. The recipe states one and a half hours, and I took mine out at one hour and ten minutes, but the cake seemed a bit dry (hence the crumbly looking slices in the photos). So next time I would take it out a bit earlier, although I know this depends on the oven.

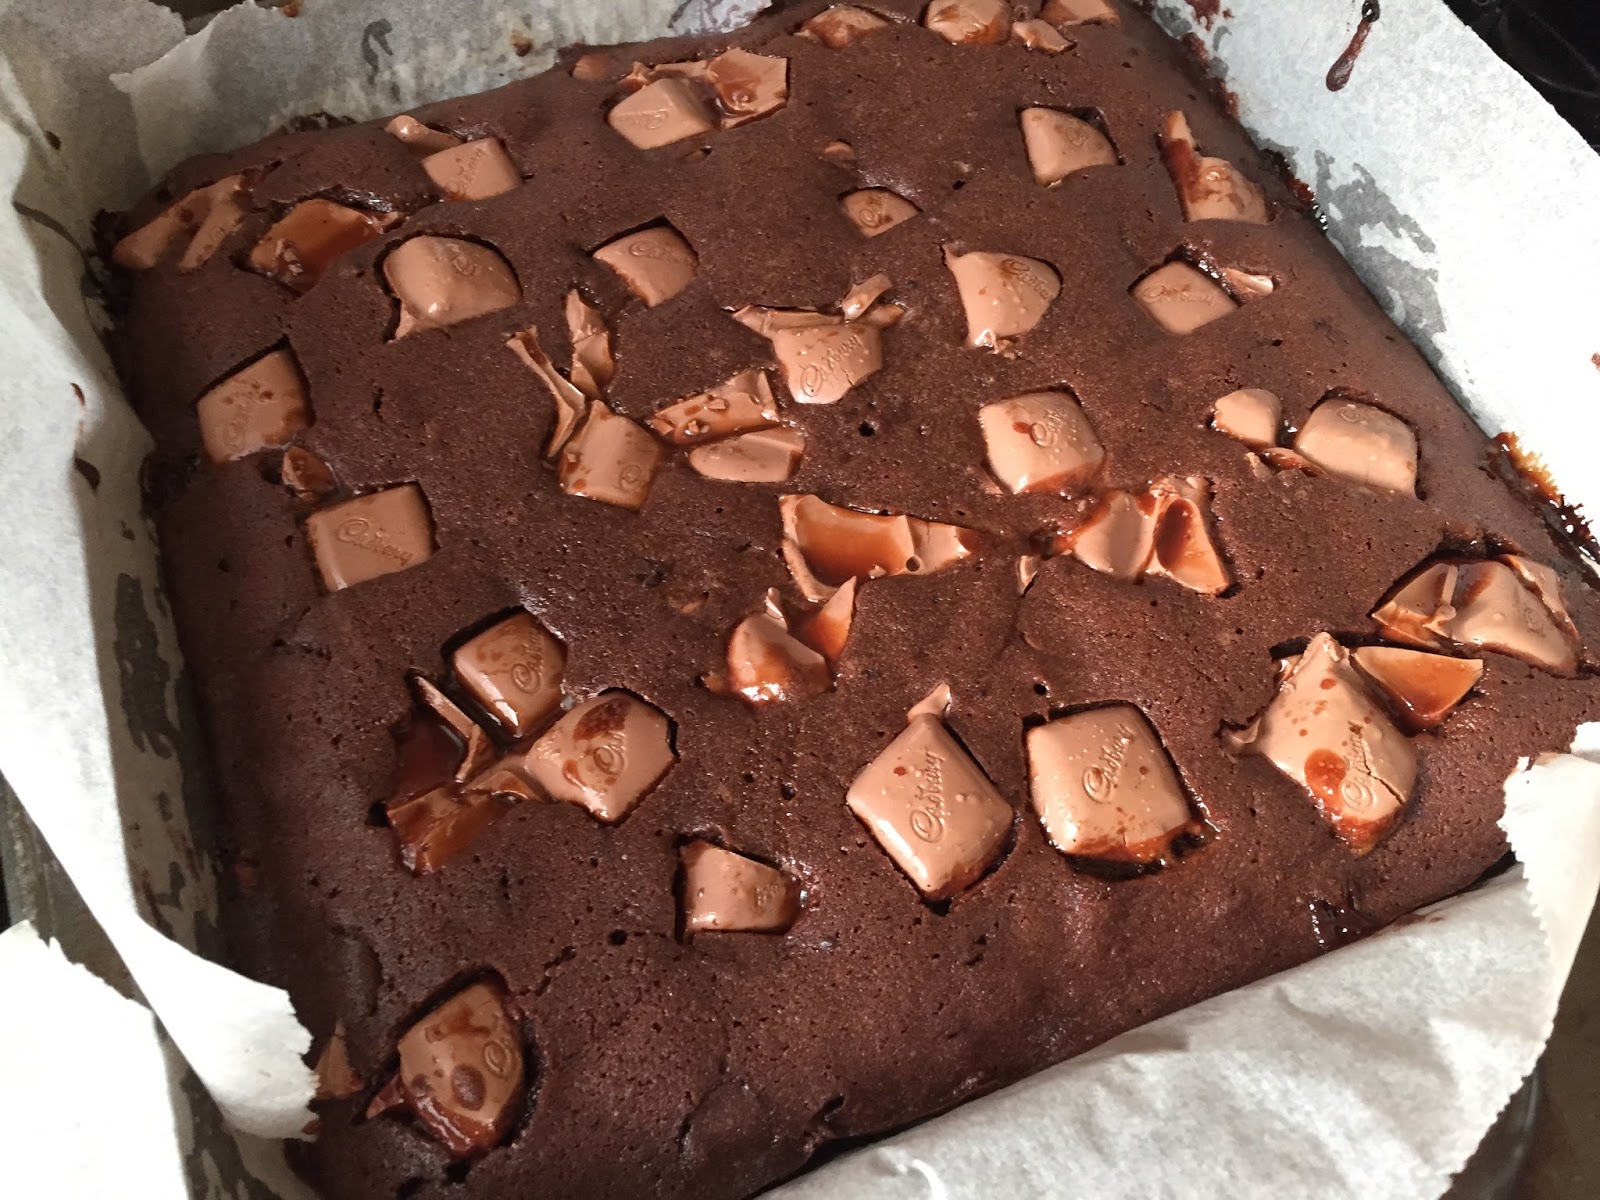
Fresh out of the oven but still needs cooling before eating!
Also the recipe calls for the cake to cool for 8 hours before eating - of course, I didn't quite have the patience to wait and cut into it a bit earlier, again leading to crumbly slices, but when I cut it again a bit later it held up better so you can see the beautiful glossy red cherry slices.

Looking a bit more solid after sufficient cooling!
Nonetheless, whether crumbly or solid, it was a very tasty cake! The kitchen smelt absolutely gorgeous as the cake was baking. The flavour of the butter really came through and seemed to have infused into the sultanas. Mr Duckie has taken the final piece with him as he travels for work so hopefully it is sturdy enough to withstand the journey. In any case, I do believe that this cake was strong and sweet enough to hold up to a cold winter's day ;)

Cherry sultana cake

Adapted from taste.com.au 

Ingredients


125g butter, at room temperature, cubed
2 cups sultanas
1/2 cup firmly packed brown sugar
2 tablespoons marmalade (or my alternative: 1 tbsp marmalade and 1 tbsp golden syrup + zest of one mandarin)
1/4 cup brandy
3/4 cup plain flour
1/4 cup self-raising flour
2 tsp mixed spice
1 tsp ground ginger
1 cup red glace cherries, quartered
2 eggs, lightly whisked

1. Place butter, sultanas, sugar, marmalade and brandy in a medium saucepan over low heat. Cook, stirring, for 5 minutes or until butter melts (do not let the mixture boil). Set aside for 45 minutes to cool.
2. Preheat oven to 150 degrees. Line base and sides of a 10 x 20 cm (base measurement) non-stick loaf pan with 2 layers of brown paper, then 1 layer of baking paper, extending each 5cm over sides of pan (I just used 2 layers of baking paper).
3. Sift the flours into a bowl.
4. Add cherries and eggs to butter mixture and stir with a wooden spoon until combined. Add the sifted flours in 2 batches, stirring after each addition until combined.
5. Pour into prepared pan and smooth top with the back of a spoon. Bake in preheated oven for 1 to 1.5 hours (check after 1 hour), or until a skewer inserted in centre of cake comes out clean.
6. Remove from oven and cover the cake (still in the pan) tightly with foil, then wrap the pain in a tea towel.. Set aside for 8 hours or overnight to cool completely.

Thursday 18 June 2015

Vegemite Chocolate Brownies


Are you a fan of trying strange or unexpected food combinations? I'd like to think that I'm fairly adventurous, particularly if chocolate is involved!

I'm sure you've all seen the new Cadbury's Vegemite Dairy Milk chocolate. I think the idea is that the saltiness of the Vegemite should go well with chocolate, in the same way that sea salt and chocolate are a good match.


Initially I thought that the Vegemite would either be a thick paste in the middle of the chocolate, or that perhaps there would be Vegemite flavoured chips throughout the chocolate. In fact, the Vegemite comes as a Vegemite-flavoured caramel in the centre of each square. The caramel itself is a dark brown colour and smells quite strongly of Vegemite.


The best way to eat the chocolate is to put a whole square in your mouth at once and chew. This way, the caramel mixes with the chocolate and becomes a background savoury type flavour. You don't even really taste the Vegemite per se, but rather it adds an extra richness to the chocolate. Be careful though and don't do what I did the first time which was to eat the caramel on its own - it's quite strong and even a bit overpowering!

Anyway, it wasn't too bad overall, although I probably wouldn't eat more than a couple of squares at once, mostly because the richness becomes all a bit too much. I felt that having something to act as a foil to the strongly flavoured chocolate was what was needed. Something thick and cakey like a brownie to act as a cushioning for the bursts of flavour.


I decided to go with a more plain cakey textured brownie rather than my usually fudgey brownie, as I thought this would go better with the richly flavoured chocolate. The recipe itself was pleasantly simple and quick, which I very much appreciated!


The combination of the simple brownies and Vegemite chocolate was surprisingly good! The brownie mixture really did help to take the edge off the chocolate, resulting in a much more palatable sweet. In fact, some of my taste testers did not even know that it was Vegemite! As usual, Mr Duckie polished these off, eating six pieces in one go!


So, why not add some Vegemite to your usual brownie repertoire - you may be surprised at how much you like them!


Vegemite Chocolate Brownies

Adapted from taste.com.au

250g butter
1 cup caster sugar
1/2 cup brown sugar
4 eggs
1 1/2 cups plain flour
3/4 cup cocoa
1 tsp vanilla essence
1/2 x 250g block of Cadbury's Vegemite Chocolate (or more if you dare!), chopped into squares

1. Preheat oven to 180 degrees. Line a 20cm x 20cm square pan with non-stick baking paper.
2. Melt butter in a saucepan over medium heat. Remove from heat. Stir in sugars. Add eggs one at a time and stir until mixture is thick and glossy.
3. Sift the flour and cocoa over the egg mixture and stir until well combined. Stir in vanilla. Spread into prepared pan. Top with Vegemite chocolate squares.
4. Bake for 30 minutes or until a skewer inserted into the centre comes out clean. Set aside to cool in pan completely. Cut into pieces and serve.


Wednesday 13 May 2015

Wild Pear Cafe, Dural


What nicer way to spend a Sunday afternoon than enjoying a dainty high tea in a beautiful garden setting? This was how I celebrated Mother's day last Sunday with all the ladies in my family!

For the past two Mother's Days, I have taken the mums out to cafes set in nurseries - all the mums love looking at plants and planning their gardens, and the cafes in these nurseries offer delicious fresh food. The cafe we (my mum, mother-in-law, grandmother-in-law, and sister-in-law) went to this year was Wild Pear Cafe in Dural. The cafe is set in a cosy cottage with a balcony that overlooks the nursery, perfect for a post-meal stroll. Inside the cafe itself was very busy - in fact it had been all booked out for Mother's Day! I was quite surprised given that it's in a quite out of the way part of Sydney, but at least it was a good sign that it would be a good cafe!

Our high tea started off with a colourful carafe of water flavoured with mint leaves, strawberries, lemon slices, and pomegranate seeds. I was really impressed with how I could taste all the different ingredients in the water, and it made for a naturally sweet and refreshing drink.


Shortly afterwards came the actual high tea, with loads of goodies beautifully presented on a three tier stand!

The bottom layer was filled to the edges with a delicious selection of sandwiches, including curried egg and cucumber; avocado, chicken, bacon and spinach; smoked salmon and cream cheese, avocado, ham, brie and lettuce, and falafel and salad. The sandwiches were very generously filled and heartier than the usual dainty finger sandwiches! I was also very intrigued and impressed by the interesting flavour combinations. The sandwiches stacked together looked so pretty and colourful, like a sandwich garden!


The second tier held the lovely sweets! The mini lemon meringue tarts were definitely the highlight for me - the tangy lemon filling merged seamlessly with the sweet, soft meringue so that it was one big creamy mouthful! There was also slices of carrot cake topped with a caramel pecan, squares of bread and butter pudding, and mini pavlovas topped with pomegranate, pashmak and pistachios. I loved the vibrant contrast of pink and green of the meringues and the moist, dense texture and spices in the carrot cake and bread and butter pudding.


The top layer held the scones - two plain and two fruit. As usual we were already too full by the time we got to the final plate! I managed to share one with my mum - the scones were served with deliciously thick clotted cream and strawberry jam, both of which I slathered on thickly onto my scone half!


The staff were able to accommodate Anita's nut allergy by providing her with a separately made up plate of sweets. However there was so much she wasn't able to finish it all! So I was able to save a lemon tart to take home to Mr Duckie, which he very much appreciated! I also saved a scone to take home for him, as I felt sad that he was missing out on the fun (this was a ladies only occasion!).

Finally, as usual with family gatherings, I have a funny story to share. We each received a glass of pink sparkling wine complimentary with our high tea. Our waitress mistakenly left the rest of the bottle on our table. Meanwhile, in the five or ten minute gap before the waitress came back, Grandma had already downed her first glass of champagne and asked for a second one to be poured for her! According to her, the alcohol "helps the food go down" and she claimed that it did not affect her, claiming that  "It's just like Coke!" It was quite a hilarious moment, and in any case dear old Grandma certainly got her money's worth on wine!

Helps the food go down!

Overall it was a lovely day out with good food in a peaceful location. Wild Pear is a very family friendly cafe, and it was nice to treat all the mum's out to a special afternoon. Make sure you book ahead though, especially on the weekend, as it certainly gets busy fast! I would definitely recommend a visit especially if you are in the area - I know I am looking forward to trying some of their lunches and other desserts! Hope you all had a happy Mother's Day too!

One final quick picture - our light Mother's Day brunch before high tea. I made sure it was nice and light so I had plenty of stomach space left for high tea!


Wild Pear Cafe
658 Old Northern Road, Dural, 2158
(02) 9651 6600

Monday 20 April 2015

Apricot and Muesli Bliss Balls


This week autumn has well and truly arrived with gale force winds and driving rains. Unfortunately the wild weather has arrived at the same time as my holiday week but on the bright side I am lucky to be staying inside whilst the rain pours down outside!

I've just finished my second placement which was my community nutrition/public health placement. I was placed at a not-for-profit charity that aims to promote healthy eating in schools. They do great work including helping canteens to have healthy menus and implementing fruit and veg programs in schools. Indeed the food environment in schools these days has come a long way! I had a fantastic time on placement - I was lucky to do quite a bit of hands-on work, I got to work at a couple of school canteens, and I learnt a lot about the challenges of implementing public health policy.

I made a cardboard cash register - harder than I thought!

Of course, as usual, Mr Duckie and I had our fair share of emergency and drama. A few posts ago I wrote about the breakdown of our old car Jeeves during my first placement. That was a pretty big scare, so what else could happen right?

We were shown what could in fact happen on only the second day of my placement. That morning, Mr Duckie was having a shower and I needed to duck into the bathroom to grab something. As I pushed open the door I thought, why does the door knob feel funny? I kept jiggling the door knob and it felt stiff and unmoveable. Then, for goodness knows what reason, I decided to close the door. Big mistake, as lo and behold, I had locked us into the bathroom.


I had never been in this situation before. My brain took some time to adjust to the situation. The reality took some time to sink in, as I thought that perhaps if I shook the door knob hard enough, it would move. Then I thought I could break the door down. When I realised we were stuck, hysteria started to take hold. Luckily Mr Duckie stayed calm and he tried to figure out a solution.

Luckily the bathroom had windows, albeit very small windows. So I was sent forth to climb out of the window and get help. With a bit of a leg-up from Mr Duckie, I managed to get out, with a few scratches on the way. Now the next challenge - the fence to the front garden was too high for me to climb, as were the fences to the neighbours on both sides. Luckily I found a way to get into my back door neighbour's garden and eventually I got through and knocked on her door!

Give as a gift to those who have been good help!
My back door neighbour, whom I had never met before, turned out to be a very kind and generous lady who was more than willing to help. She helped me to call a locksmith and so eventually we managed to get back into the house and open up the bathroom door. What a relief!

Anyway, in times of unexpected dramas, something sweet is always good to help give an energy boost. Whilst I was on placement, I looked up a number of healthy sweet treat recipes to pass on to schools and parents, and I became quite familiar with the concept of bliss balls!


These balls are very easy to make and only use a few basic ingredients, pretty much just dried apricots, muesli and sesame seeds. Whilst many bliss ball recipes contain nuts, this recipe is nut-free, so can safely be taken to school. They also smell amazing whilst cooking from all the lovely spices added in!

Hope you enjoy this recipe! I'm off to my food service placement next so we shall see what happens then!


Apricot and muesli bliss balls


Adapted from taste.com.au

100g dried apricots
3/4 cup cold water
1 teaspoon ground cinnamon
1/2 teaspoon ground nutmeg
1 teaspoon ground cardamom
60g sesame seeds
3 cups natural (untoasted) nut-free muesli

1. Combine apricots, water, cinnamon, nutmeg and cardamom in a saucepan and bring to the boil over medium heat. Reduce heat to low. Cover and simmer, stirring occasionally for 15 minutes or until apricots soften. Uncover and set aside until cool.
2. Place sesame seeds in a pan and toss over medium heat for 2-3 minutes until golden. Place into a bowl to cool down and set aside.
3. Place muesli in bowl of food processor and process until finely chopped. Add apricot mixture and process until a stiff dough forms - you may need to add a bit of extra warm water. Transfer to a bowl.
4. Use teaspoonfuls of mixture to roll into small bowls. Roll in toasted sesame seeds. Place in fridge to firm up a bit then serve.

Makes approx. 30 balls

Thursday 9 April 2015

Chocolate Caramel Easter Cake


Hello there! Hope you all had a great Easter break! Easter celebrations here in the Duckie household were, naturally, happily full of food!

Easter marks the end of Lent and the end of Lenten fasting. Which for us means celebrating with meat and chocolate!

To mark this special occasion, I got up early on Saturday morning to prepare an Easter chocolate cake for our Easter feast that night. In the weeks leading up to Easter, I began my search for the perfect chocolate celebration cake. I eventually found a very yummy salted caramel chocolate cake recipe and when I saw it I knew that was going to be the one! I carefully prepared for the cake-making by doing a thorough search of my local supermarkets to find suitable Easter-themed chocolate items for decoration (and eating!).

Caramel oozing everywhere, creating a sticky mess!
Salted caramel, whilst being totally delicious, also always turns out to be extremely messy for me! This was only my second time dealing with caramel, but again I found that it managed to go absolutely everywhere! I filled the cake with the caramel mixture but somehow mine did not look thick and gooey like the one in the picture, but more saucy and runny. I realised the next day when I took out my caramel from the refrigerator that it wasn't chilled enough - so if yours is too runny make sure to put it in the fridge for a bit! Anyway, half an hour later, I found all the filling had oozed out! So we ended up putting the caramel on top of the cake as a sauce. I think I may have also overcooked the cake slightly but luckily no one else seemed to mind!

Here are some more pictures of the festivities! First, some mini beef burgers:


Some pigs in blankets (sensing a miniature foods theme here?)


And finally I had also prepared some cherry chocolate truffles the night before, but we were so full that these were barely touched! They did taste very nice the next day though ;)


Hope you've all had your share of yummy Easter chocolates and feasts too! I'm off to work my way through the rest of my Easter chocolate stash ;)


Chocolate Caramel Easter Cake


Recipe adapted from BBC Good Food

115g salted butter, plus extra for greasing
225g dark chocolate (70% cocoa)
150ml milk
225g light brown sugar
2 tsp vanilla extract
2 large eggs separated
150ml sour cream
200g self-raising flour
2 tbsp cocoa powder
1 tsp baking powder
1 tbsp sea salt crystals
Chocolate bunnies and eggs, to decorate

For the caramel
450g caster sugar
2 tbsp golden syrup
115g salted butter
125ml thickened cream
2 tbsp sour cream

For the chocolate ganache
225g dark chocolate (70% cocoa)
250ml thickened cream
Dessertspoon sea salt crystals (or to taste)

1. First, make the caramel. Pour 100ml water into a large saucepan. Add the sugar and golden syrup, gently cook until melted, then turn up the heat a bit and cook until the caramel is a dark golden brown colour. Swirl the pan occasionally to prevent sticking but to not stir (add a few drops of lemon juice if any big crystals are forming). Turn off the heat and carefully whisk in the butter, cream, and sour cream - it will bubble up quite high. Whisk until smooth, then leave to cool slightly set (you may need to put the caramel in the fridge for a bit to make it thicken up). You can make this up to 3 days in advance and chill in the fridge - just gently reheat until soft enough to spread before assembling the cake.
2. For the cake, heat oven to 180 degrees. Grease a 23cm springform cake tin and line the base with baking parchment. Melt the chocolate, butter and milk in a large pan over low heat, stirring until smooth. Remove from heat, then beat in sugar and vanilla. Cool slightly.
3. Beat egg yolks and sour cream together, then mix into chocolate mixture, followed by the flour and baking powder.
4. Whisk egg whites in a clean bowl until stiff peaks form. Stir a third of the egg whites into the cake mix, then gently fold in the rest along with the sea salt.
5. Pour into the prepared tin and bake for 40-50 mins until firm to touch. Leave to cool for 20 mins, then remove from tin and finish cooling on a wire rack.
6. For ganache: heat chocolate and cream together over a low heat until chocolate has melted. Pour into a bowl to cool.
7. To assemble: slice cooled cake in half horizontally. Sandwich together with some of your caramel - you may not need it all, but be generous in order to balance the bittersweet ganache topping. Spread ganache over the top of the cake and sprinkle with some sea salt crystals if you like. Decorate with bunnies and eggs.

Cherry Chocolate Truffles


Recipe adapted from taste.com.au

200g dark chocolate, chopped
1/3 cup thickened cream
2 tbsp brandy
20 glace cherries
1/4 cup cocoa powder

1. Combine chocolate and cream in a heatproof, microwave-safe bowl. Microwave, uncovered on medium (50%) for 2-3 minutes, stirring every minute with a metal spoon, or until melted and smooth. Stir in brandy. Cover. Refrigerate for 3-4 hours or until firm.
2. Line a baking tray or plate with baking paper. Using 1 teaspoon of chocolate mixture at a time, roll into balls.
3. Flatten balls using palm of hand. Wrap discs around cherries and form into a ball. Place cocoa into a shallow dish. Roll balls in cocoa to coat. Place on prepared tray or plate. Refrigerate until firm.

Wednesday 25 March 2015

Cutlets - carrying on family traditions


In a food-driven family such as ours, a lot of history and memories can be encapsulated in cherished dishes and treats. This particular dish is indeed very special, shared with me by Mr Duckie's grandmother.

For Mr Duckie, his Grandma's cooking is a tradition that he can always rely on. Grandma is a wonderful lady who has devoted her life to looking after her family. When Mr Duckie was young, it was Grandma and Grandpa that raised him and cared for him, teaching him how to write and how to do maths.

Of course, Grandma is a very capable cook as most ladies of her generation are (all those years of experience!), and she is quite famous for her food. Even now, old family friends and relatives reminisce about the food she used to make. Grandma specialises in traditional Sri Lankan food, excelling in the sorts of recipes that would have been handed down generation after generation. I wanted to take down some of her stand-out recipes as a way of carrying on these cherished family traditions.


So as I mentioned, Grandma is always trying to look out for those around her. After I said to her that I wanted to learn her cutlet recipe, Grandma tried for weeks to tee up a time with me! She even got up early one Sunday morning to make sure we could do this together! 

Cutlets are a traditional Sri Lankan snack food, made up of crunchy balls of spiced tuna. It is a light yet satisfying "short eat", and one of Mr Duckie's favourites!

Learning this recipe, I realised just how important the many years of Grandma's cooking experience was. Whilst trying to shape the balls of tuna, mine kept falling apart whereas Grandma's stayed nice and neat! I got some very firm instructions on the proper shaping technique, but I still don't think I've quite got the hang of it.

I also got some educational notes on cutlet recipes. Grandma informs me that cutlets are usually a round, golf ball shape, but she flattens her slightly to reduce the amount of oil needed for frying. Also, the balls are usually crumbed with egg as the "glue", but as my sister-in-law is allergic to egg, Grandma has substituted with a flour and water mixture. 

So, I am very honoured to share this special recipe and I hope to take down more of these time-honoured recipes to keep the family history alive!


Cutlets


Makes 18-20

Ingredients

1 large  potato
1 large onion
1 teaspoon black mustard seeds
1 teaspoon fennel seeds
A few curry leaves, finely chopped (optional)
1 finely chopped green chilli and ground black pepper, or 1-2 tsp chilli powder
1 x 425g tin tuna
3/4 cup flour plus 1 cup water, or 1 egg
2 cloves garlic
3-4 cups dry breadcrumbs (or "rusks" as Grandma calls them!)
Canola oil, for frying


1. Chop potato into small chunks. Place into a pot of water and bring to the boil. Boil until potato is tender.


2. Meanwhile, chop onion very finely (so that you can't tell the onion pieces in the tuna mixture)


3. Heat oil in a pan and add mustard seeds, fennel seeds and curry leaves. Fry for a few minutes to toast spices


4. Add onion to spices and fry until onion is soft and translucent (do not brown onion)
5. Drain tuna and crush it with a fork so it is broken up. Add to onion mixture and stir to combine.


6. Finely chop garlic and grind to a paste in a mortar and pestle. Add to onion mixture. Add some salt and chilli powder to taste. Take pan off heat.


7. Drain potato and roughly mash (some small chunks will remain). Add to tuna mixture and stir to combine.


8. Taste again to see if more salt or chilli is needed. Set aside and cool slightly.
9. Mix flour and water until it is a runny paste (or alternatively beat egg). Take tablespoonfuls of tuna mixture and squeeze together in your hand to form a small ball. You need to make sure to squeeze hard so that the mixture holds together firmly, so that it won't fall apart when frying. You will see some of the liquid oozing out when you squeeze. If there are any bits of onion or curry leaf sticking out, pull them off.
10. Flatten balls between palm of your hand slightly. Dunk balls into flour mixture, then into breadcrumbs. When coating with breadcrumbs, first cover the top with breadcrumbs. Then flip it over and with your fingers spin the disc around in a circle. Whilst doing this, gently squeeze the ball - the aim is to try to give a nice round shape and also help the ball to stick together
11. Put cutlets in the fridge for 20-30 minutes to firm up. 
12. Heat about 2 cm oil in a pan. The aim is to have enough oil to cover the cutlets whilst they are frying.


13. Once the oil is hot, drop in a few cutlets at a time. Fry until breadcrumbs are golden.
14. Drain on paper towel, cool, then enjoy!


Saturday 21 March 2015

High tea at The Hydro Majestic - the Blue Mountains Life

Looking out into the Megalong Valley
Hello everyone! Sorry for the long absence. I am finally back home, having finished my first placement in the Blue Mountains! I have to say that I was somewhat apprehensive at first at having to move to a regional area, but in fact I really enjoyed living in the Mountains.  Everyone was very friendly, the lifestyle was relaxed, and of course there was always a stunningly picturesque view right around the corner. The Blue Mountains Hospital itself is a lovely hospital, and even though it was a quieter than one of the bigger hospitals, I was glad to have had the time to develop my basic nutrition assessment and education skills.

Watching the sunrise from our balcony in Leura
As usual though, Mr Duckie and I had an emergency drama to deal with which certainly kept life more than interesting! The first week back Mr Duckie and I drove back to Sydney for a wedding. Mr Duckie was best man so he went to the groom's house the night before to help with some last minute preparations. Our beloved car, Jeeves, who was Mr Duckie's first car, and who we have had for over eight years, had given us some trouble over the past year but he had managed the drive up and down to the Mountains without any trouble (about a 90km drive each way!). However, that night things took a very scary turn for the worse. On his way home, the front right wheel of Jeeves fell off! Luckily Mr Duckie was on a straight stretch and the road was very quiet. We were lucky that no one was hurt. Sadly though, I think it is now time to let go of Jeeves. He's been fixed and is sitting in the driveway of my parents-in-law's house, but I'm not sure if he will go again. We managed to quickly buy a new car that is basically a newer version of Jeeves, but we still miss him very much.


Here's a picture of our beloved Jeeves. As you can see, he's been through rather a lot in the past 8 years. He somehow lost his hubcaps (unfortunately they got stolen whilst we were out one night), he's had a few dings, and in the end the side mirror and boot door were no longer working. You can also see the front of the new car just behind him - in fact, he is a newer version of Jeeves! Once Mr Duckie finds what he likes, he sticks with it ;)

So you would think that I've gotten all the drama out of the way for a while! Not so - funnily enough, right at the start of my second placement we had another emergency! But that may be a story for another post ;)

During my stay in the Mountains, I managed to check out the local food scene (as every good dietitian does!). The one place that I really wanted to visit was the iconic and legendary Hydro Majestic Hotel, which is very famously perched on the edge of the cliff face overlooking the Megalong Valley. Much to his credit, Mr Duckie had secretly booked us in for a high tea on Valentines Day!

The view from The Wintergarden
The Hydro Majestic Afternoon High Tea is served in The Wintergarden. The hotel recently underwent a multi-million dollar renovation and re-opened last year. It has a very glamorous Art Deco inspired atmosphere. And the view truly lived up to its reputation - it was the unique point making all the difference to the afternoon tea experience! Combined with the relaxing songs being played on the grand piano, and the slightly grey and cloudy sky, I felt like I could have been in the English countryside!

I again had my breath taken away when the high tea came out. The food was served in a traditional three-tiered stand and was very generous in its proportions. I imagined that it was like the three meals of the day in one!


We started off with the sandwiches and savouries (middle tier). There were chicken and walnut sandwiches, cucumber and herb butter sandwiches, and roast beef and tomato chutney sandwiches. The other savouries were a blini with smoked salmon, and a tart filled with goats cheese, olive, and cherry tomato.


Next we went onto scones. These came out very warm and soft! And in a very generous touch we got two scones each - one plain and one fruit. They were served with thick clotted cream and a nice, runny strawberry jam. My recommendation though, as tasty as the scones are, is to only have a maximum of one scone each as they are so filling!


Last of all was the sweets layer. Unfortunately by this time we were so full we couldn't make much headway into the sweets! This layer contained honey and mango pannacottas, strawberry macarons, mini almond friands, and passionfruit and raspberry tarts (my favourite!). We tried our best to eat them but eventually we ended up taking the rest home in a takeaway box.


Afterwards we decided we should try to walk off some of our fullness and we enjoyed the  beautiful views out into the Megalong Valley. Ultimately though what we needed was a good old fashioned afternoon nap!


Next time you are looking to relax and get away from the hustle and bustle of city life, I definitely recommend a visit to the Blue Mountains and to indulge yourself at The Hydro Majestic!


Hydro Majestic Afternoon High Tea
Wintergarden Restaurant
The Hydro Majestic Hotel
Great Western Highway, Medlow Bath
NSW 2780
http://www.hydromajestic.com.au/